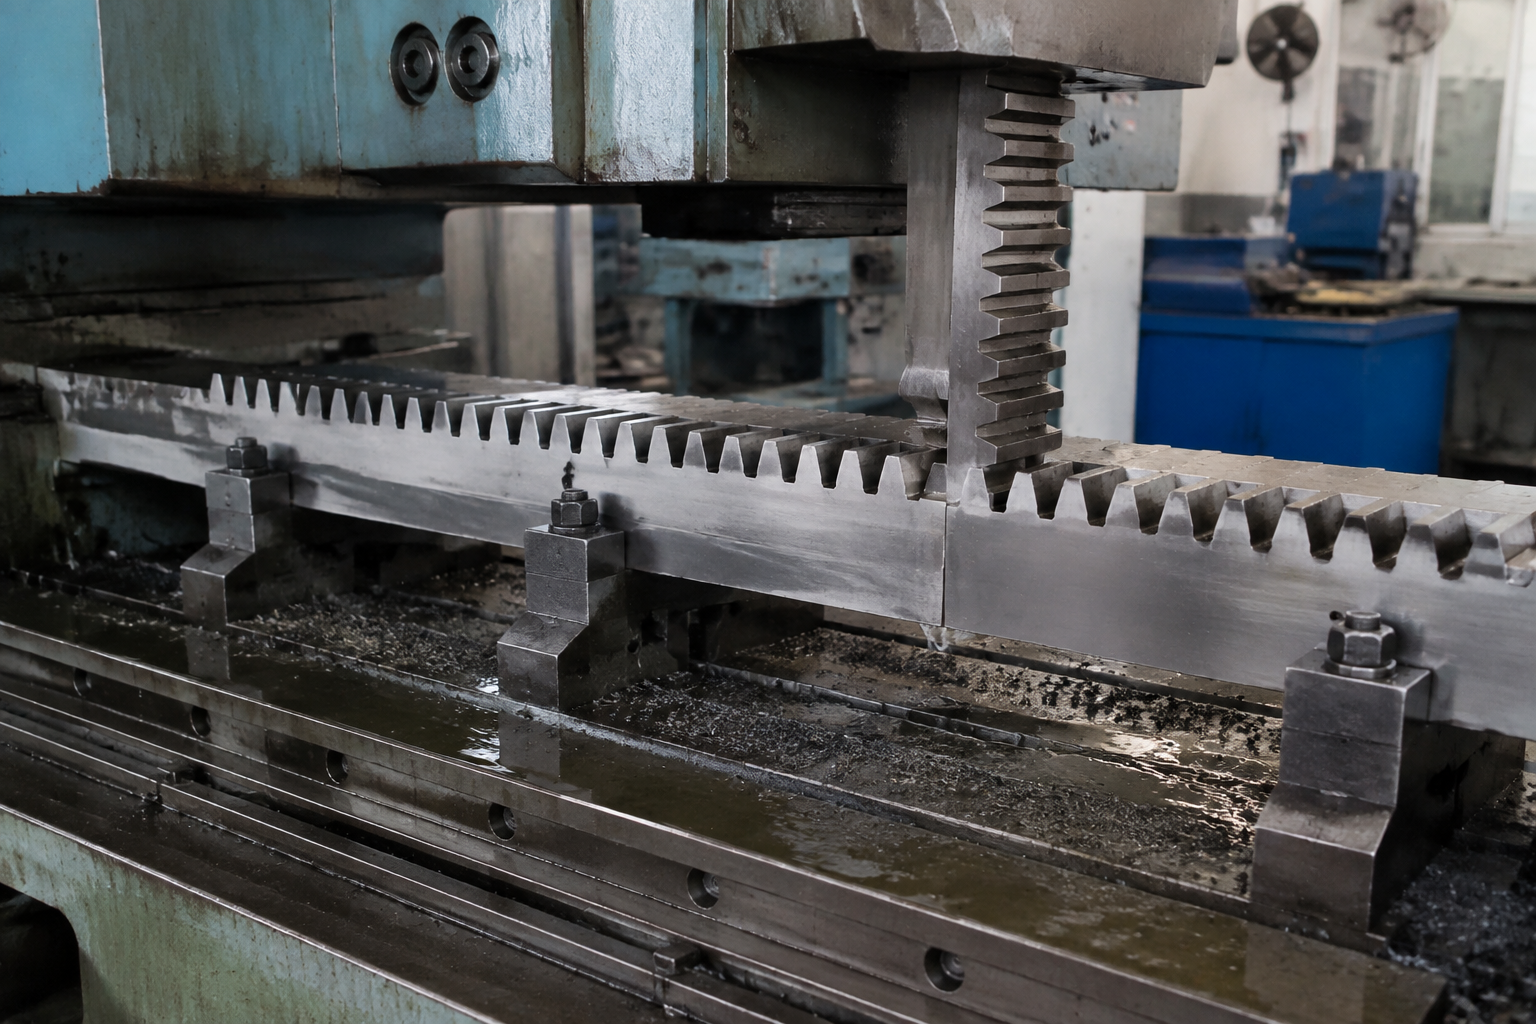
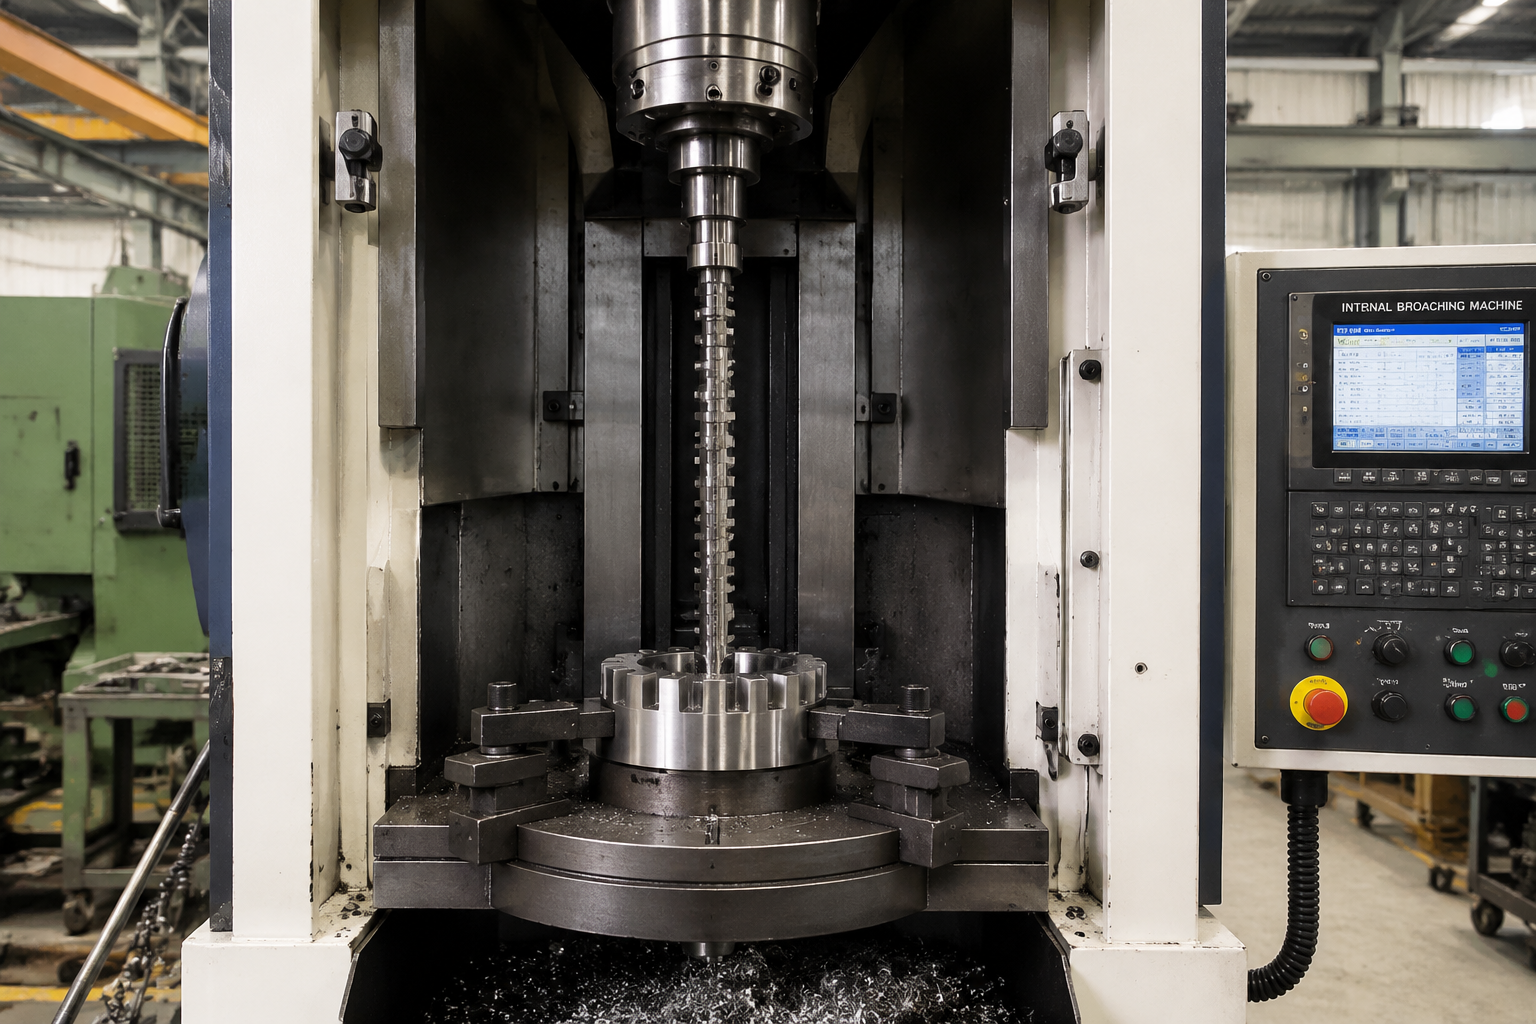
A broach is an unremarkable-looking object: a long bar of steel with rows of teeth marching along its length. Then you see the price and the lead time, and it stops looking unremarkable. The reason is not markup — it is what it takes to make one. Between the raw bar of high-speed steel and the finished tool sit weeks of sequential, precision-controlled operations, each existing because the step before it left the steel too rough, too soft, too distorted or too imprecise to cut with. That chain is what this article walks, end to end.
A note on scope, because this site already covers the neighboring subjects. Our broach design guide explains how the geometry is decided — rise per tooth, tooth pitch, chip room, section lengths. Our broach reconditioning guide explains what happens years later, when that same tool comes back dull and has its edges reground. This article is the story in between: how a brand-new broach is manufactured, from cutting the blank to the final inspection report. New readers may also want the complete guide to broaches open in a second tab for the anatomy vocabulary.
The Broach Manufacturing Process at a Glance
Manufacturing a broach is a strict sequence — almost nothing in it can be reordered, and almost every step exists to prepare the steel for the next one. The chain looks like this:
| Step | Operation | What it accomplishes |
|---|---|---|
| 1 | Design and engineering | Every tool dimension calculated from the part print: tooth rise, pitch, sections, pilots, shank |
| 2 | Blanking | Tool steel bar cut to length, grinding allowance on every surface |
| 3 | Rough machining | Turning the diameters and milling the tooth gullets in annealed (soft) steel |
| 4 | Heat treatment | Hardening and tempering to cutting hardness — HRC 62–66 for HSS grades |
| 5 | Straightening | Correcting the bow heat treatment puts into a long, slender part |
| 6 | Grinding | Cylindrical grinding of datums, then tooth-form grinding that creates the final geometry |
| 7 | Edge preparation and coating | Edge honing, then PVD coating (TiN, TiCN or TiAlN) where specified |
| 8 | Marking and inspection | Identification marking plus dimensional, hardness and edge verification |
Two facts about this chain explain most of what follows. First, the teeth on a finished broach are not the teeth that left the milling machine — milling only puts rough gullets in soft steel; the true cutting geometry is ground in after hardening. Second, heat treatment contributes hardness and nothing else: it actually degrades the geometry rough machining created, and grinding wins it back at higher precision. Keep those two facts in view and the process reads as a story of steel being made hard enough to cut, then precise enough to cut well.
Material Selection: What Broaches Are Made Of
High-Speed Steel: The Default Answer
The overwhelming majority of broaches — internal and surface, standard and custom — are made from high-speed steel (HSS), chosen because broach teeth must combine high hardness with the toughness to survive heavy chip loads without chipping. Within HSS, the grade ladder is short:
- M-2 — the general-purpose workhorse. It takes a keen edge, machines and grinds predictably, and handles free-machining steels, cast iron, aluminum and brass economically. Most standard keyway broaches are M-2.
- M-42 and PM T-15 — the hardness-and-wear tier. The cobalt in M-42 and the fine structure of powder-metallurgy T-15 hold an edge meaningfully longer in abrasive or higher-volume work, at a material premium.
- PM M-4 — powder-metallurgy M-4, the go-to grade for stainless steels and titanium. Its ultra-fine grain pairs high hardness with the toughness that gummy, work-hardening alloys demand, resisting the corner chipping that plagues coarser grades.
Where Carbide Fits
Solid carbide is rarely used for full-length broaches — too brittle and too expensive in the sizes a long pull-type broach requires. Where carbide earns its place is in segmented construction: inserts brazed or clamped onto a steel body, typically on the finishing sections where the last few hundredths of a millimeter of wear decide part size, and in cast-iron or high-volume surface broaching where abrasive wear dominates. The rest of this article follows the steel route — the path nearly every custom internal broach takes; segmented tools add tighter control at brazing and grinding.
Blanking and Rough Machining
From Bar Stock to Blank
The process starts with annealed tool steel bar, ordered oversized in both diameter and length. Cutting the blank is trivial in itself, but the allowances decided here ripple downstream: every surface gets grinding stock to absorb the distortion heat treatment will introduce and the mill marks machining leaves. Too little allowance and the hardened blank cannot be ground clean; too much and grinding time — the most expensive machining in the chain — balloons. Very large-diameter broaches may begin as forged blanks, improving internal structure and grain flow.
Rough Turning and Milling the Teeth
In the annealed condition the steel machines like ordinary alloy steel. The blank is turned to rough diameters along its whole length — shank, pilot, cutting sections, rear pilot — and center holes or locating faces are established, because they serve as the reference datums for every later grinding operation. Then the tooth gullets are milled: a profile cutter ploughs the chip pockets between teeth while the machine indexes the blank tooth-to-tooth and along its length. This milling does not create finished teeth; it creates the raw bulk of the tooth spacing and chip room, left deliberately oversize.
What rough machining does determine, permanently, is indexing integrity — how evenly the teeth are spaced around the periphery and along the length. A milling indexing error becomes baked-in tooth-pitch variation that grinding thins but cannot erase, because grinding removes only the allowance. This is also where stress relief matters: machining unbalances stresses in the bar, so a stress-relief anneal between machining and hardening is standard practice on precision broaches. Skip it, and the tool will announce its hidden stresses as bow during quenching.
Heat Treatment: Hardness Against Distortion
Salt Bath or Vacuum: Two Roads to HRC 62–66
High-speed steel is hardened by heating to a very high austenitizing temperature — in the neighborhood of 2,200 °F (1,200 °C), hot enough that the alloy carbides dissolve into the matrix — then quenching rapidly to trap carbon in solution, and finally tempering in repeated cycles (typically two or three) that precipitate fine secondary carbides and raise the steel to roughly HRC 62–66. Those secondary carbides are what let a broach keep its edge at cutting-edge temperatures; hardness achieved once, correctly, is the foundation of everything after.
Two furnace routes dominate. Salt bath hardening — the traditional workhorse for broaches — transfers heat fast and uniformly, heats slender parts with minimal surface-to-core gradient, and limits decarburization, all valuable for long tools. Vacuum furnaces with inert-gas quenching deliver clean, scale-free surfaces and are increasingly preferred for premium powder-metallurgy grades. Both routes end in the same tempering cycles; a deep-freeze treatment between quench and temper is often added on PM grades to transform retained austenite and stabilize the steel.
Why Long Broaches Bend — and How They Are Straightened
Here is the defining difficulty of broach heat treatment: proportion. A pull-type internal broach routinely runs forty to eighty times longer than its diameter — the aspect ratio of rebar, but with precision requirements measured in hundredths of a millimeter. Any non-uniformity in heating or quenching, any residual stress released asymmetrically, comes out as bow. The tool exits hardening at full hardness — and warped.
Straightening is therefore a dedicated step, and timing is everything. It is done while the steel still offers some ductility — in the warm window during the quench, or by pressing after tempering — because hardened HSS at room temperature cannot simply be bent back without cracking. Operators press the tool between supports, checking against dial indicators. It is slow, manual, judgment-heavy work, and one of the quiet reasons custom broach pricing and lead time behave the way they do. Prevention matters just as much: symmetric allowances, stress relief before hardening, and vertical furnace handling all reduce the bow to press out.
Hardness vs. Toughness: The Balance Behind the Number
The final hardness a manufacturer targets is a compromise, not a maximum. Higher hardness buys wear resistance and edge retention; it costs toughness, and a broach tooth is a cantilevered beam taking a heavy chip load — an over-hard tooth chips at its corners on the first tough workpiece, an under-hard one wears away. That is why the working band lands around HRC 62–66, and why the exact target follows the application: gummy stainless work pulls toward toughness, abrasive cast iron toward hardness. Hardness is verified after tempering by Rockwell testing on the tool or a coupon from the same heat-treat load.
Grinding: Where the Accuracy Comes From
Cylindrical Grinding: Restoring the Datums
Grinding begins with the round surfaces — shank, front pilot, rear pilot and the tooth-section outside diameters — ground between centers on cylindrical grinders. These diameters are not cosmetic: the pilots guide the broach through the pre-machined hole, the shank seats in the puller, and the tooth-section diameters define the envelope everything else is measured from. Grinding them after heat treatment re-establishes a straight, concentric set of datums on a hard, slightly warped blank — runout between shank and pilots is held to a few micrometers, because every error here appears directly as error in the parts.
Tooth-Form Grinding: Creating the Real Cutting Geometry
Then the teeth themselves are ground on dedicated broach grinding machines. A dressed profile wheel plunges into each gullet in turn — the machine indexing tooth to tooth with its precision indexing system — simultaneously generating the rake face, the chip pocket and each tooth’s height relationship to its neighbors, while relief grinding cuts the small back angles behind the cutting edges. This is where a broach’s working geometry is actually created, tooth by tooth, along the whole cutting length — which is why broach grinding is specialized work on specialized machines rather than a job for a generic toolroom grinder.
Why Grinding Decides the Final Precision
The key sentence in this article: rise-per-tooth consistency is manufactured at the grinder. The design calls for each cutting tooth to stand a specific amount taller than the one before it; surface finish, force distribution and the dimensional stability of the parts all follow from how uniformly that rise is held, tooth after tooth. Uneven tooth rise overloads some teeth and lets others rub instead of cut — the classic root of rapid edge wear, poor finish and chattering — and accumulated pitch error behaves the same way. Thermal damage is the other risk: too aggressive a pass burns the edge, tempering the steel locally below working hardness, so a burned tooth can fail early even though it measures perfectly. Careful wheels, coolant and modest infeed protect that quality.
Edge Preparation and PVD Coating
Edge Honing: The Micron That Multiplies Life
A ground cutting edge is sharp but fragile — at the very edge the steel tapers to nearly nothing, and that feather edge chips microscopically in the first workpieces, degrading finish until it wears back to a stable profile. Edge preparation (honing) deliberately rounds that edge by a few micrometers, trading a hair of sharpness for a large gain in stability. On coated broaches honing is not optional: PVD films are thin and follow the underlying geometry exactly, and a razor edge under a hard coating cracks and spalls — a honed substrate lets the film survive. Honing amounts are application-specific: finer for free-machining materials, heavier for interrupted or tough cuts.
PVD Coating: TiN, TiCN and TiAlN
Where the application justifies it, the finished broach goes to a PVD (physical vapor deposition) coating line: cleaned, fixtured, and bombarded in a vacuum chamber by metal vapor that condenses as a thin, extremely hard film — at process temperatures around 750–850 °F (400–450 °C), safely below the substrate’s tempering temperature, so the step never softens the tool. The menu is the standard three: TiN, the general-purpose workhorse for moderate steel and cast-iron work; TiCN, harder with lower friction, for abrasive applications; and TiAlN, which retains hardness at elevated temperatures — the natural pairing with PM M-4 in stainless and titanium broaching. A coating does not rescue poor geometry; it extends the life of good geometry. And because the film adds thickness over every surface, close-tolerance finishing sections treat that thickness as part of the size, not an error in it.
Marking, Inspection and Final Quality Control
The last operations are administrative only in appearance. Identification — tool number, part number, material grade, sometimes date and serial — is marked on non-functional surfaces, normally the shank, by laser or electro-etch; that marking lets the tool be tracked through its working life and matched back to its documentation. Then comes final inspection, and on a well-made broach it is genuinely comprehensive.
What gets verified is the mirror of the manufacturing chain: tooth pitch and accumulated pitch error; rise per tooth and tooth-height uniformity; the produced form against the part print — keyway width, spline profile, polygon dimensions; runout of pilots and shank to the tooth envelope, checked between centers; straightness; hardness by Rockwell test; and edge condition under magnification, confirming a clean grind with no burn, cracks or chipping. Magnetic-particle inspection and coating thickness verification round out the checks on higher-spec tools. What a buyer should verify on receipt is covered in our broach tool inspection guide, which doubles as an incoming QC checklist.
Lead Times: Why a Custom Broach Takes Weeks
Now the lead-time question has a visible answer: a broach is not machined so much as grown through a chain in which almost nothing runs in parallel. Add it up — engineering the tool from the print, procuring steel (unusual bar sizes are often mill-order items with their own lead time), rough machining, heat treatment measured in days including straightening, hours of tooth-by-tooth grinding, optional coating, inspection — and the arithmetic of “weeks” writes itself.
The practical split for buyers: standard broaches — common keyway sizes and popular spline forms in inventory or repeat production — ship in days to a couple of weeks, because the engineering and often the material are already standing. Custom broaches, where every tooth is calculated for one part, typically run several weeks from approved drawing to finished tool — commonly six to twelve weeks for a straightforward internal broach, longer for multi-spline or segmented constructions. Those numbers are the sum of the table at the top of this article; our broach tool life guide covers the rotation-strategy side of planning around them.
Seen whole, manufacturing and reconditioning are two ends of one asset lifecycle. A new broach leaves this chain with a built-in reconditioning reserve — deliberate extra stock of tooth length and sizing teeth — that lets it be sharpened several times before the reserve runs out. Our reconditioning guide picks the story up from there: what a regrind restores, what it cannot, and how to manage the cycles.
الأسئلة الشائعة
What are broaches made of?
Most broaches are made of high-speed steel: M-2 as the general-purpose grade, M-42 or PM T-15 for higher wear resistance in volume production, PM M-4 for stainless steel and titanium. Carbide appears mainly as inserts or segments on steel bodies — on finishing sections and in abrasive cast-iron surface broaching — not as solid long tools. Many steel broaches also carry a PVD coating (TiN, TiCN or TiAlN) over the ground and honed edges.
How are broach teeth made?
In two stages. First, in the soft annealed steel, the tooth gullets and rough spacing are milled into the blank, oversize on purpose. The blank is then hardened and straightened, and the actual cutting geometry — rake faces, tooth heights, relief angles, the rise-per-tooth progression — is created by tooth-form grinding on specialized broach grinders. Milling moves metal; grinding makes the broach.
Why are broaches so expensive?
Three stacked reasons. Specialization: a broach is one tool for one form — engineering and machine time are spread over a single tool or small family, not a production run of thousands. Process depth: the chain — material, blanking, rough machining, heat treatment, straightening, precision grinding, coating, inspection — is long, and several steps are slow, skilled, specialized work. Precision: the tool holds its geometry to hundredths of a millimeter over a meter of cutting length. You are buying a precision instrument that happens to look like a steel bar.
How long does it take to make a custom broach?
For a fully custom internal broach, plan on several weeks from approved drawing to finished tool — commonly six to twelve weeks including material, heat treatment and grinding, with long multi-spline and segmented carbide constructions taking longer. Standard keyway broaches and popular forms are a different case: they ship from stock or short repeat production in days to a couple of weeks. If a production start is fixed on the calendar, order tooling first and keep reconditioning slots booked in parallel.
From Steel Blank to Your Next Part
The compressed version of everything above: a broach is designed from your part print; cut from annealed high-speed steel with grinding stock on every surface; rough-machined soft; hardened to HRC 62–66 and straightened with patient, skilled pressing; ground — datums first, then every tooth — until rise per tooth and pitch are uniform to the tolerances your parts demand; honed and often coated; then inspected dimension by dimension. Each step exists because of the one before it, and the finished tool carries the quality of all of them.
If you are sourcing a new broach — a standard keyway or spline tool, or a custom form engineered from your drawing — start at the broach tools page for the standard range, or send us the part print directly: we manufacture broaches alongside the broaching machines that run them, quote with realistic lead times, and can advise on grade, coating and reconditioning reserve for your volumes.